
It’s time to move over, kale. Rocket rocks!
Rocket lettuce (Eruca sativa) is the next big thing in farm-to-table dining. Loaded with Vitamin C and big on peppery flavour, rocket will spice up salads, pasta dishes, and more. It is so popular that you’ll find it running out of stock in stores from time to time — it’s that crave-worthy!
The good news is, you don’t have to wait for your next grocery trip to be able to enjoy this leafy green. Learn how to grow rocket (a.k.a. arugula) with our easy step-by-step guide below.
Different varieties of rocket
There are different varieties of rocket, each with its own flavour profile. The one you see in supermarkets is usually cultivated arugula. You’ll be able to identify wild arugula from its strong taste. These are some of the varieties you can grow in your backyard:
- Cultivated rocket
- Wild rocket
- Wasabi
- Esmee
- Dragons tongue
Is rocket easy to grow?

To grow rocket in Australia, you will need a sunny spot for your planting site and well-draining nutrient-rich soil. Keep rocket leaves healthy by watering them well, especially during hot dry weather. During summer when the full sun’s rays may be too harsh on your plants, place the rocket sprouts in a shaded area and water sufficiently.
How to grow rocket from seed
You can grow rocket in your garden with just a few materials. These are the things you will need:
- Rocket seeds
- Line for sowing
- Trowel
- Compost
- Liquid fertiliser
- Horticultural fleece if needed
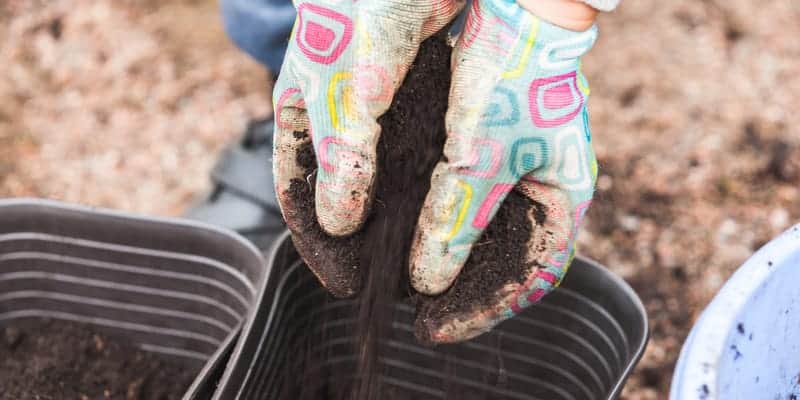
Step 1. Prepare the soil one to two weeks before sowing
To make the most of your crops, pick a sunny spot in your garden for planting. Add compost and fertiliser to the planting site one to two weeks before sowing to enrich the soil with nutrients.
Step 2. Mark each row
Line each planting row to guide where you will be placing the rocket seeds. This makes planting easier and helps you identify the rocket from weeds.
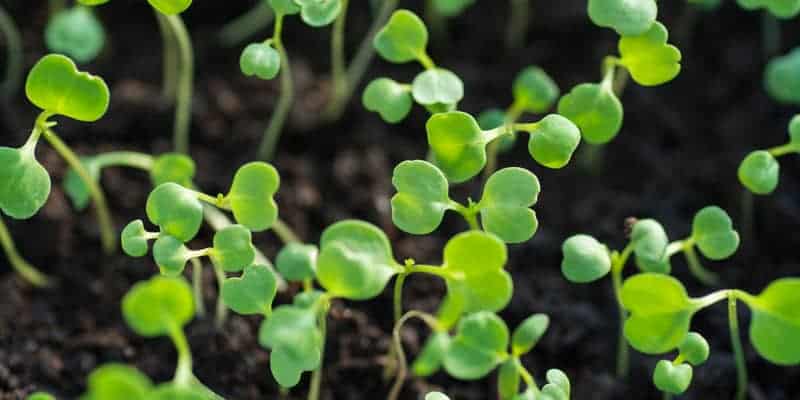
Step 3. Plant the seeds
From the packet, sow the seeds into the plot thinly along the line. Plant each seed 1.5-2cm into the soil, taking care to space each seed 3cm apart. A distance of 15cm between planting rows is ideal.
Using a hoe or trowel, cover the seeds lightly with seed raising mix, then press gently. Remove any weeds or stones that may obstruct the seedlings’ growth.
Step 4. Water the soil well

When you’re done planting the seeds, water the soil well until it is moistened through. Use a watering can with the rose attached to ensure that the seeds are hydrated gently without being displaced.
Step 5. Fertilise weekly
During the growth stage, your rocket plants will need plenty of nutrition. Nourish them weekly using a liquid fertiliser.
Step 6. Protect from pests
Aside from the usual garden slug, cabbage white caterpillars and flea beetles are common culprits of weakened rocket plants. Protect rocket leaves from these pests by covering them with horticultural fleece.
Step 7. Harvest seeds when ready
Rocket produces seeds that can be collected for future use. A tip from professional gardeners is to harvest rocket seeds from the slowest seed-producing plant. This way, the seedlings that the seeds produce will have less tendency to over-flower and will give more leaf yield instead.
How to grow rocket in pots
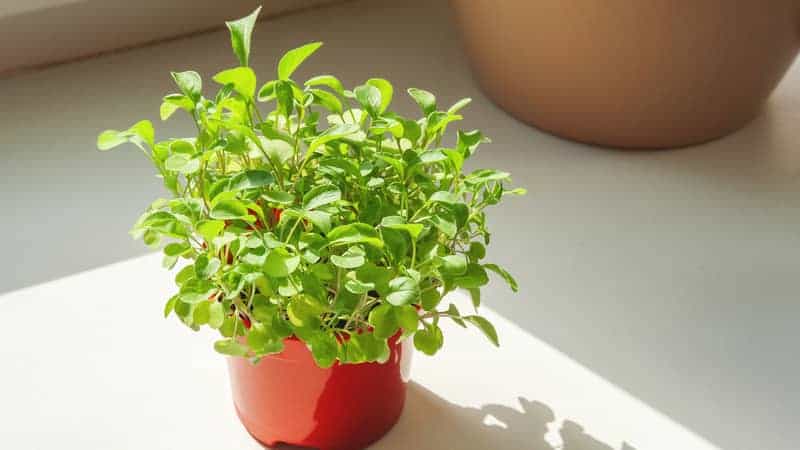
Create your own potted garden from scratch with a few rocket seeds and a small patch of soil. You will need:
- Rocket seed
- Line for sowing
- Trowel
- Planting mix
- Compost
- Liquid fertiliser
- 300mm-wide planter or pot
Step 1. Fill the pot with planting mix
Put high-quality planting mix in the pot. Add compost or fertiliser if necessary to enrich the soil. Position the pot in a sunny area in your yard or garden.
Step 2. Plant rocket seeds in the soil
Use a trowel to sow the seeds 1.5-2cm into the soil, taking care to space each seed 3cm apart.
Step 3. Cover the seeds with planting mix
Cover the seeds lightly with the same potting mix. Water the newly planted seeds to boost growth.
Step 4. Fertilise weekly

Continue watering the soil until seedlings appear. Fertilise weekly with liquid fertiliser to encourage leaf production.
Step 5. Harvest young leaves
Pick young leaves with your fingers as soon as they’re big enough to be eaten. You can plant seeds every few weeks to ensure that you will have a continuous supply of rocket for months to come.
Frequently Asked Questions
What is the best way to grow rocket?
These conditions will ensure that your rocket plant will grow healthy fronds:
Cold climate
While rocket loves full sun, it also thrives in cooler climates. The best time to sow rocket seeds is during spring or autumn, when the temperature is lower, but not too cold.
Moist topsoil

Keeping the topsoil moist ensures that your rocket’s shallow roots are healthy and well-hydrated. Take care not to overwater, though, as this can drown the roots and make the leaves taste bland.
Mulch
Mulching is a gardening practice where organic material such as wood chips or leaves are added to the top layer of the soil. Apply a layer of mulch on the soil to retain soil moisture and regulate soil temperature.
How long does rocket take to grow?

In as short as 3-4 weeks, you’ll be able to pick fresh rocket leaves from your garden that you can use in salads and other dishes.
Does rocket regrow after cutting?
Definitely. Rocket plants are fast growing and regenerate after cutting. You can have plenty of salad greens to enjoy again and again just from one rocket plant.
To harvest, we recommend picking the leaves by hand. Harvest the fronds while the plant is young so you can eat them while they’re tender and palatable.
What does rocket grow well with?
Rocket isn’t a picky lettuce when it comes to choosing its company. It can grow well with other lettuces, herbs, and leafy greens in your garden. Mix and match your greens for a colourful salad you will surely enjoy.