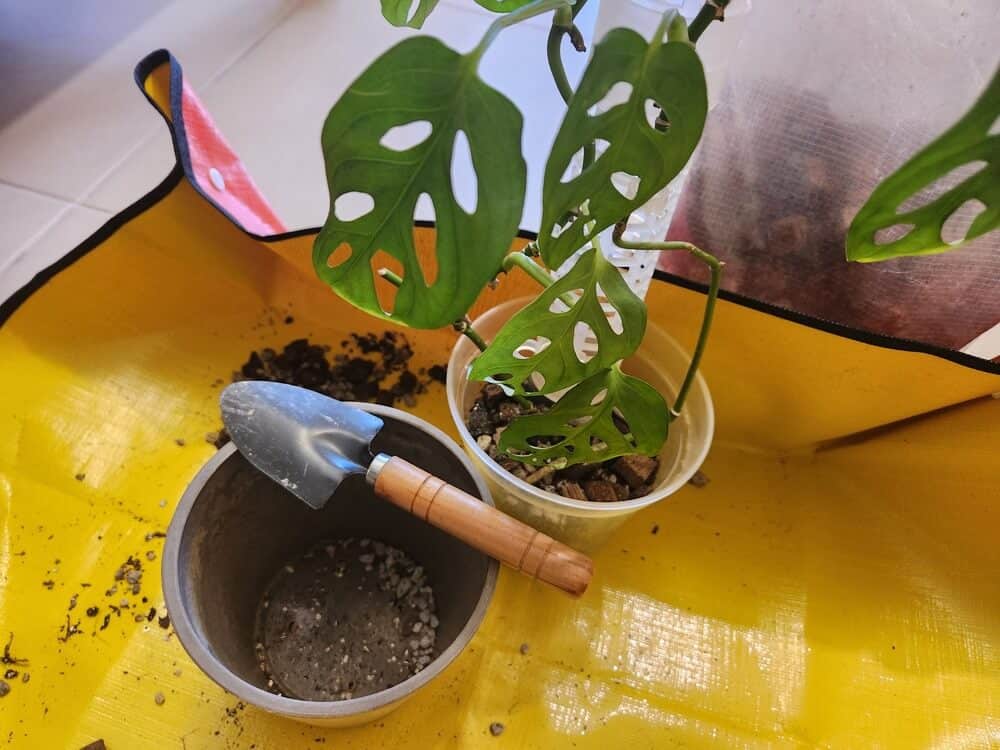
A lush, thriving Swiss Cheese Plant is a delight for any indoor gardener. But if you’re seeing smaller leaves than usual, that might be a sign that it’s time to repot your plant!
As your Monstera grows, its roots fill out the container and consume available nutrients. A bigger plant will need a bigger pot and more soil to sustain it.
Repotting is one of the more intimidating tasks in plant care, since we don’t want to harm our leafy friends. Knowing how to repot Monstera plants helps minimise the risks and keeps plants happy.
Noticed your Monstera is getting a bit cramped in its pot? Time to size up so it has more room to grow!
What You Need | Before Repotting | How to Repot Monstera | Repotting for Root Rot | After Repotting | Repotting Big Monsteras
When to Repot a Monstera
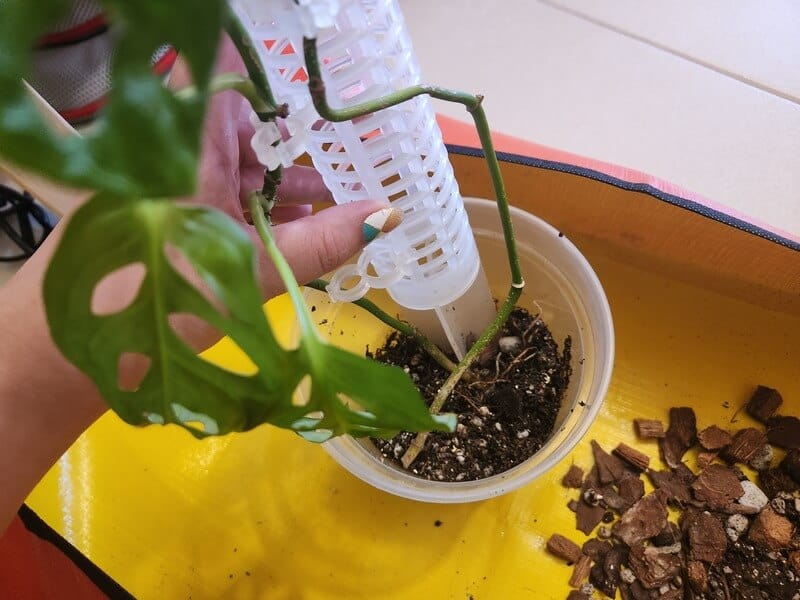
For the most part, your Monstera will happily live in its current pot with no problems!
But just like kids need new clothes as they grow up, a Monstera eventually needs a new pot and soil.
How often to repot a Monstera
As a general rule, it’s best to repot your Monstera when it has outgrown its container or you haven’t changed the potting mix in 1–2 years.
Monsteras can tolerate being slightly rootbound (or pot-bound), but it will stunt their growth. Look out for roots growing out of drainage holes or circling the base of the pot.
Other signs include soil drying out too quickly and new leaves that are smaller than usual.
Even if your plant isn’t rootbound, it’s still good to change the potting mix every 1–2 years, since the nutrients can deplete over time.
You don’t need to go up a pot size if it’s not necessary — just put in fresh potting medium and you’re done!
Should I repot a Monstera after buying?
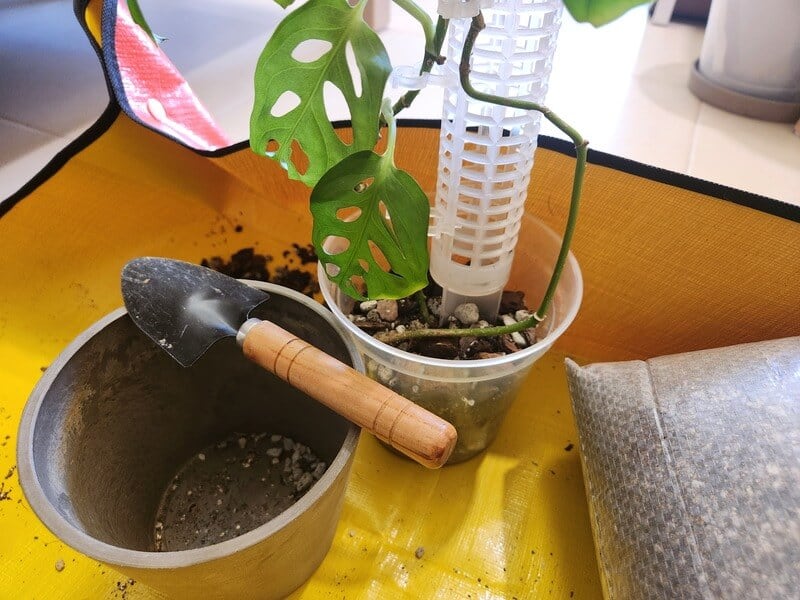
Not necessarily! It comes down to personal preference.
Some gardeners prefer to repot a plant immediately after buying and bringing it home. This allows them to check for pests, soil issues, or unhealthy roots.
Moreover, nurseries or online shops sometimes use plastic cages to hold the root ball of a young plant. If not removed, these can “strangle” the roots and hinder growth.
On the other hand, other gardeners prefer to leave new Monsteras in their original pots while adjusting to their new environment. This limits the stress that a plant experiences.
After a month or two of adjustment, you can repot your Monstera to your preferred soil mix and container.
When to repot a Monstera right away
In some cases, you’ll need to repot your Monstera right away to prevent further damage. Typical causes include:
- Root rot
- Mould or pests
- Extremely rootbound plant
- Hydrophobic soil (cannot absorb water)
Yellowing Monstera leaves and dark, mushy roots are key signs of root rot. You’ll need to treat the plant immediately and plant it in fresh soil.
Some fungi can be beneficial to plants, but excessive mould growth is usually a sign of too-wet soil. Pests like fungus gnats or thrips can also spread into the soil and harm the plant.
An extremely rootbound plant will have more roots than soil inside the pot. The roots will be circling and crowding each other, especially near the bottom.
Hydrophobic soil has dried out so much, it cannot hold or absorb moisture properly. The soil will feel brittle and will usually pull away from the sides of the pot.
What You Need for Repotting Your Monstera
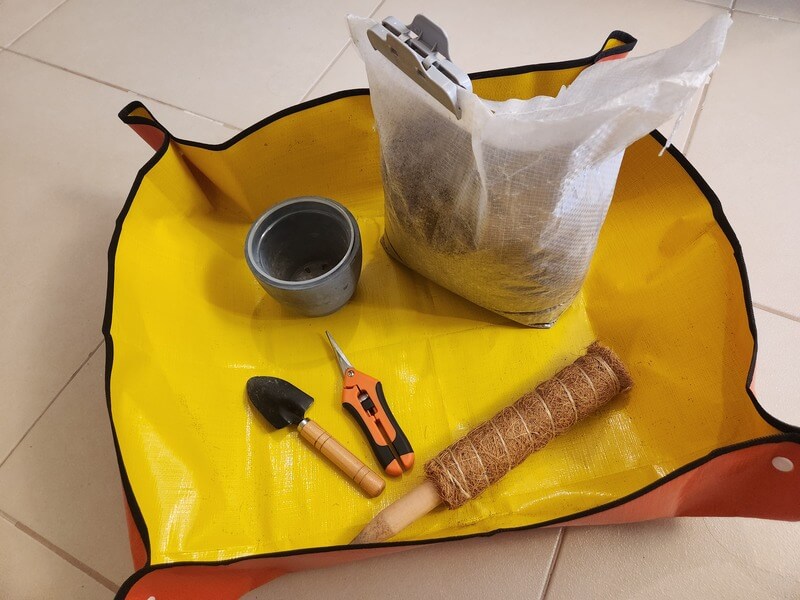
No matter what Monstera variety you’re repotting, you’ll need the following tools:
- New pot
- Plant tarp or mat
- Aroid potting mix
- Sanitised pruning shears
- Supports (like a moss pole)
- Handheld shovel (or similar)
What kind of soil to repot your Monstera in? The best soil for a Monstera plant is a chunky, well-draining potting mix, preferably one for aroids.
When choosing the size of the new pot, use one that is 5–8cm wider at the top with proper drainage. Do not upsize too much, as excess soil risks waterlogging and rot.
Monsteras are natural climbers, and will thrive when given support. Some popular options include moss poles, coconut coir poles, or trellises.
Before Repotting Monstera: What to Know
Don’t go wiggling that Monstera out of its container just yet! Here are a few good things to know about repotting first.
How to prepare for repotting
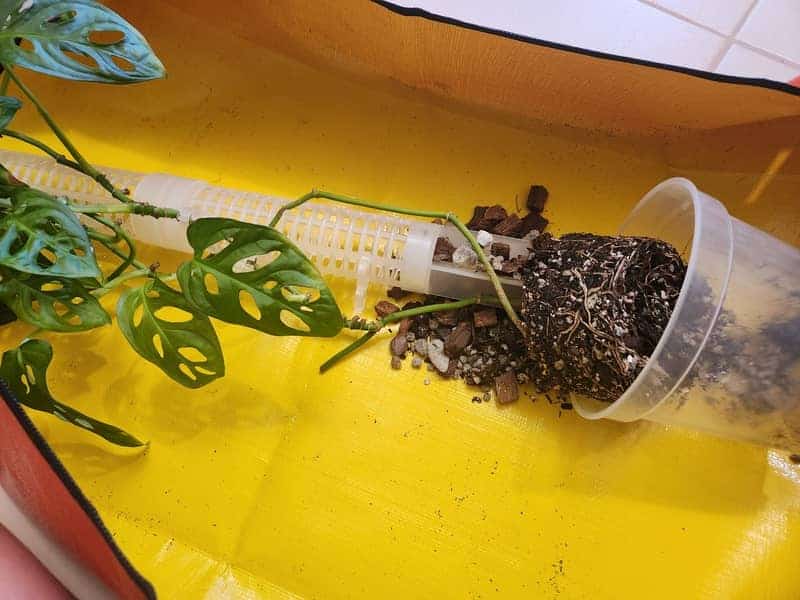
As an indoor plant, you can repot your Monstera at any time, but the “best time” would be during the growing season from spring to early autumn.
Gather all your tools beforehand, including the new soil. Work on a flat surface covered with a plant tarp or mat (or any cover to catch the soil).
Water your Monstera at least 3–4 days before repotting. This helps reduce stress on the plant while ensuring it’s easy to remove the root ball, since the soil isn’t too wet.
Do you bury aerial roots when repotting Monstera?
No, you don’t need to bury the Monstera aerial roots when repotting.
For aerial roots that weren’t already in the soil, burying them could risk rot as they’re not adapted to growing in the ground. Instead, leave them out in the air (or cut them off if you prefer).
However, for aerial roots that were already in the soil before repotting, it’s best to re-bury them or cover them in fresh soil. They let your plants take up extra nutrients and water, giving you more lush foliage.
If your Monstera already has a support (like a coco coir pole), be careful not to detach any aerial roots that have grown into the material.
Can you cut Monstera roots when repotting?
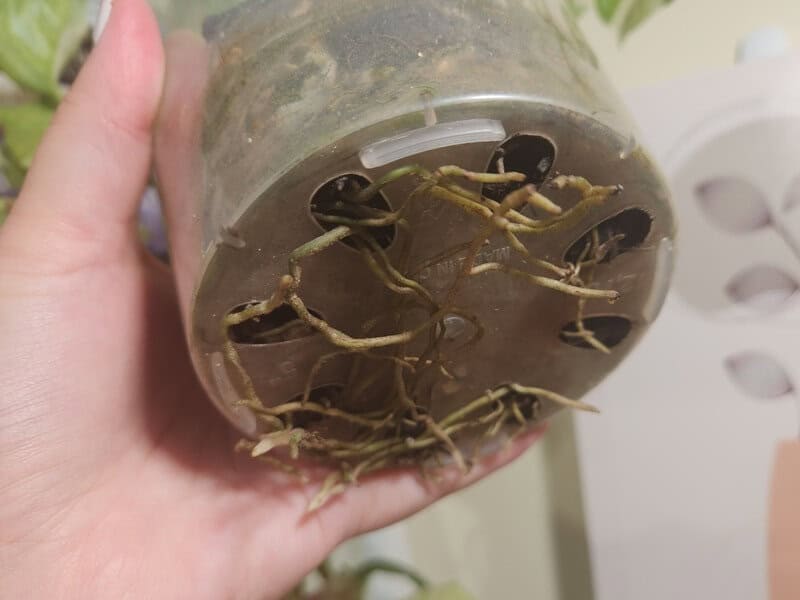
Yes, you can cut off some Monstera roots while repotting, especially if the plant is rootbound or has rot. These are hardy plants, and they’ll recover with proper care.
Do not cut off more than 25% of the healthy roots, so you don’t harm your Monstera.
How to Repot a Monstera Plant
It can feel daunting to repot your Monstera, especially if you’re a beginner plant parent. But repotting helps your plant grow bigger and happier!
Steps for repotting Monstera
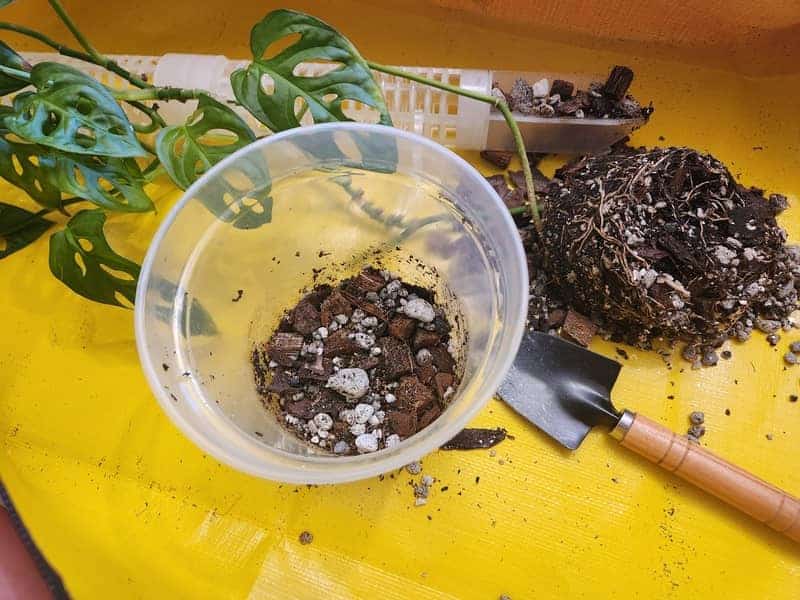
Once you’ve set up your tools, prep your new pot. Make sure it’s clean before you fill it about 1/4–1/3 of the way with potting mix.
No need to add gravel or ceramic pieces to the bottom of the pot, as this won’t help with drainage!
Lean the existing pot on its side or tip it at an angle. Carefully lift the Monstera plant from the base — not from any petioles or leaves — along with any supports.
Inspect the soil and roots for any issues. Use the shears to prune off any withered roots, and gently massage the root ball to loosen anything that’s tangled or circled.
If there are no issues with the old soil, you don’t need to rinse it off! Brush off anything loose, then place the Monstera — root ball and all — into the new pot.
Adjust or add the plant support so it fits into the new container without disturbing the roots.
Fill the area around the plant with fresh potting mix only to the same level as the previous pot. Do not bury your Monstera deeper than that, and leave 2–3cm of space between the soil level and pot rim.
Give the pot a little shimmy to settle the soil, then water your Monstera well.
Caring for a repotted Monstera
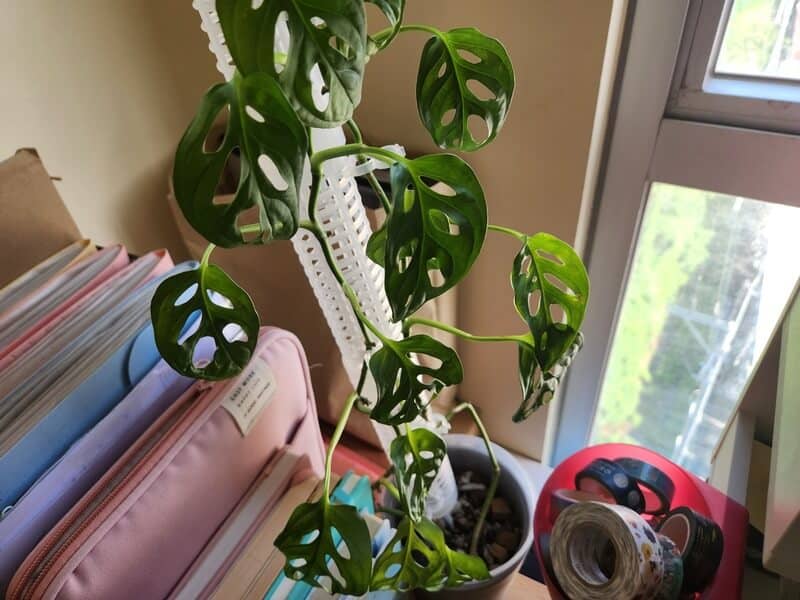
Return your Monstera to its previous position in your home so there aren’t too many changes! This helps minimise the risk of transplant shock.
Follow proper Monstera care recommendations afterwards. Make sure it gets plenty of bright, indirect light and good air circulation.
Resist the urge to water often so you don’t stress the roots — wait until the soil is mostly dry. And skip the fertiliser for at least 6 weeks so the plant can adjust and take root in the new soil.
Repotting a Monstera With Root Rot
If you suspect your Monstera has root rot, you’ll need to check the roots right away.
Gently remove the plant from its container. If any roots are dark, mushy, or smelly, that indicates rot.
Rinse or brush off all the soil from the roots since it contains the fungi or bacteria causing the rot. Dispose of any remaining soil in the container, then wash it with hot water and soap.
Disinfect your shears with rubbing alcohol before cutting off all the affected roots. Leave the ones that are white and healthy.
It’s optional, but you can lightly spray the roots with a mix of 1 part 3% hydrogen peroxide to 4 parts water. This can help kill off any lingering fungi or bacteria.
Repot the Monstera in fresh potting mix and avoid watering for a few days.
It may take your plant a week or so to bounce back, so be patient! However, repotting may not be able to save the plant — in which case, it’s time to propagate your Monstera using any healthy stems.
After Repotting: What to Look Out For
Once you’re done repotting, keep an eye on the Monstera for any issues. Yellow or wilting leaves are the most common problems.
Monstera has yellow leaves after repotting
You may see some yellowing on the Monstera leaves after repotting. This is likely transplant shock, but don’t panic — the plant is just adjusting!
Your Monstera is focusing its energy on reestablishing its roots and adapting to the new pot and soil. It’ll then “sacrifice” some of the lower or older leaves by draining their nutrients.
Avoid removing yellow leaves, as this can further disrupt the plant. They’ll fall off naturally, or you can give a light tug and see if it breaks off without forcing it.
Just keep caring for your Monstera as normal and let it adjust.
Monstera drooping after repotting
A few yellow leaves, especially around the bottom, are fine. However, if you have a lot of yellow, drooping, or curling leaves, there may be some issues.
Check that your Monstera is getting enough light. It needs at least 6 hours of bright, indirect light every day, or around 8–10 hours under a full-spectrum grow light.
Inspect the potting medium — does it have enough drainage? Is it too dense or soggy? You may need to add more perlite, pumice, or bark to improve drainage.
Make sure you didn’t size up too much with the pot. If the container is too big, the soil stays wet longer and can suffocate the roots. Do not go more than 5–8cm larger when repotting.
What If My Monstera is Too Big to Repot?
If you’re the proud owner of a massive Monstera deliciosa plant or any large plant, you might struggle to repot it. That container full of soil can get heavy!
See if you can lay the plant on its side, pot and all. This will make it easier to wiggle the Monstera out of the container.
Gently remove the Monstera by tugging it loose from the base. Never pull by the petioles or the leaves, as these could break and hurt the plant.
You can use a handheld shovel or similar tool to loosen the soil around the sides and make it easier to take out. This may break off some roots stuck to the side of the pot, but that’s fine.
If you can’t comfortably lift the container, though, don’t worry! Instead of repotting, you’ll need to do “top dressing” (or surface dressing).
Remove the top 10–15cm of soil around the mature plant, taking care not to harm the roots. If the soil underneath is compacted, use a wooden stick to break it up, just a bit.
Add a fresh layer of potting mix and give the pot a little shimmy to settle it. Water your Monstera well, and let it enjoy the new, nutrient-rich soil… which will make it even bigger.

