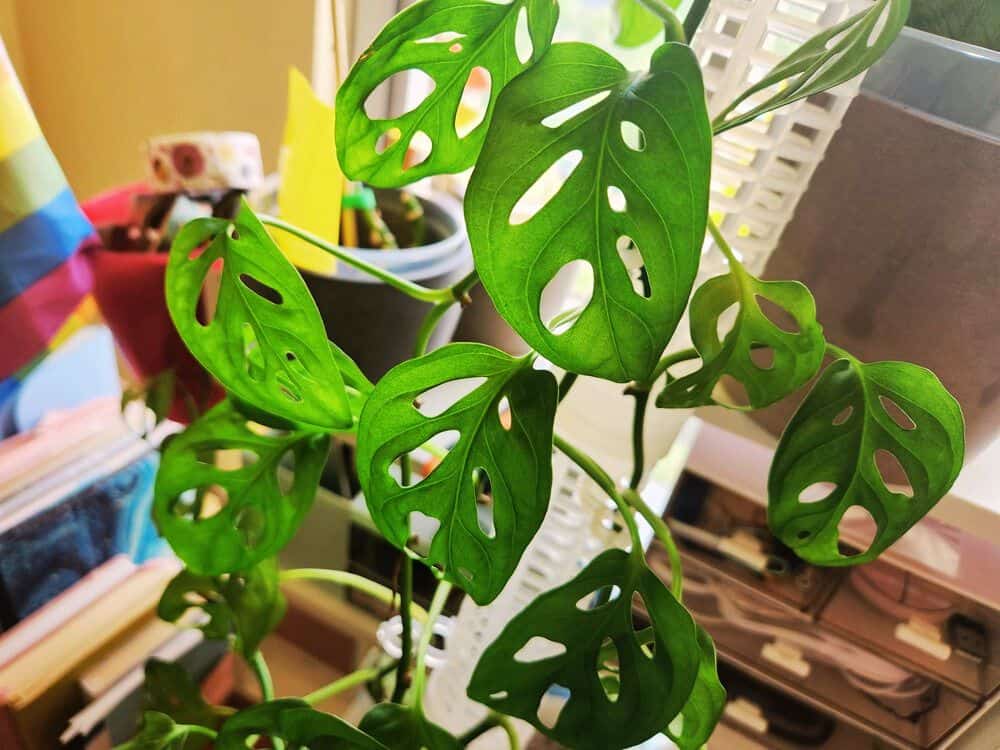
There’s a sense of pride in seeing our Monstera houseplants grow and thrive. As stems elongate and new leaves unfurl, you start thinking — what if you got even more plants?
One way to get a new plant for free? Propagation! And fortunately, Monsteras (like other aroids) are straightforward to propagate via cuttings or air layering.
Whether you want to gift plants to some friends or create an at-home jungle, Monstera propagation is easy-peasy. So disinfect your shears while we cut (ha!) to the chase.
Tips and Preparation | Where to Cut the Stem | Propagating in Water | Propagating in Soil | Propagating in Perlite | Air Layering | Dividing a Monstera | Care After Propagation
Can You Propagate Monstera?
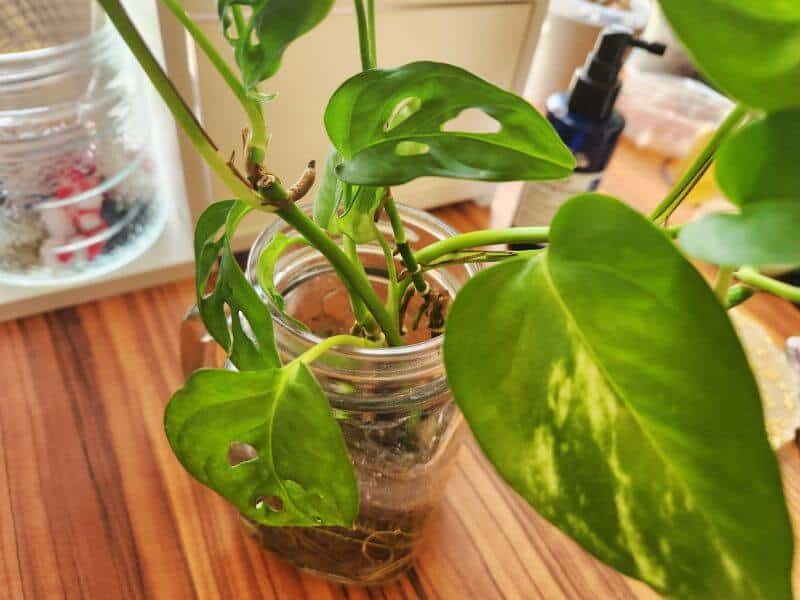
Yes, you absolutely can propagate a Monstera plant!
From the Swiss Cheese Plant to the Shingle Plant, most Monstera varieties are easy to propagate, thanks to their nodes and aerial roots. A healthy cutting can put out roots in a few weeks.
For a variegated Monstera (like a Thai Constellation), keep in mind that there’s no guarantee the new plant will produce variegations.
You’ll have the best chance if there are one or more variegated leaves on the cutting and some variegation on the stem near the node.
However, it’s possible that the new growth will revert, leaving you with green leaves. This is especially true for unstable variegations like the Monstera ‘Albo Variegata’ and “Aurea’.
Before Monstera Propagation: Tips and Prep
For indoor plants, you can take cuttings to propagate at any time — no need to wait for a specific season.
If you need to prune your Monstera to maintain its shape or trim off unruly growth, that’s a great opportunity for cuttings!
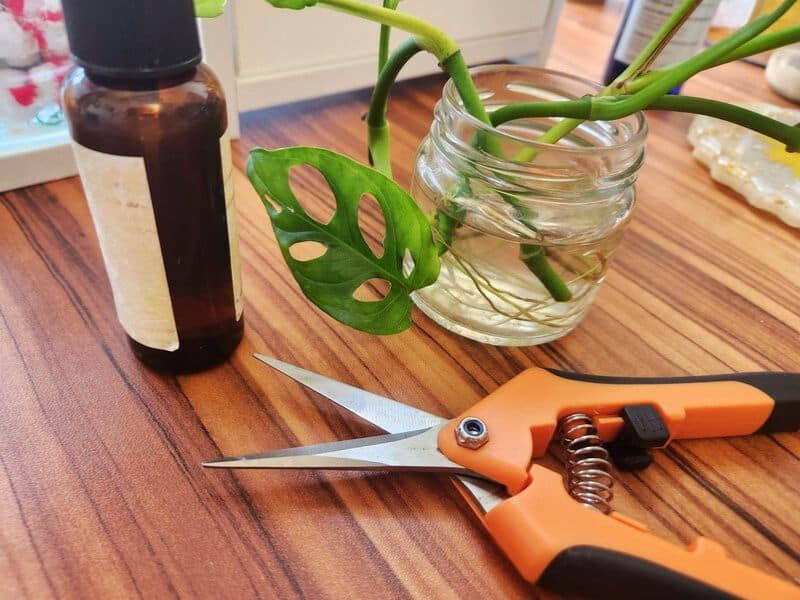
Always use clean, disinfected shears or pruners when taking stem cuttings. Dirty shears increase the risk of rot and disease.
Spritz the shears with some rubbing alcohol or 3% hydrogen peroxide, then wipe them clean.
For water propagation, you can add a pothos or philodendron cutting! It’s believed they release more hormones that help stimulate new root development.
For soil propagation, you can use a rooting hormone product to aid growth.
Where to Cut Monsteras for Propagation
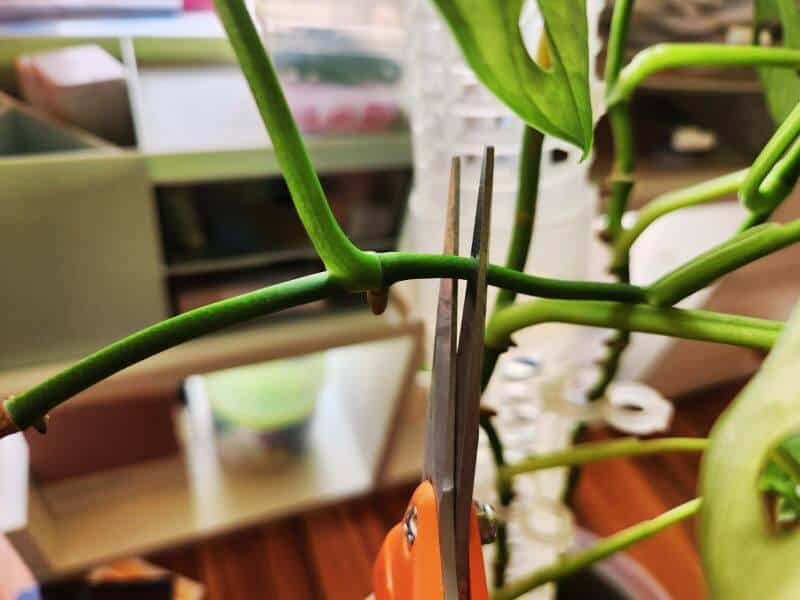
When taking cuttings from your Monstera, it’s best to cut from the end of a healthy stem on the parent plant. These are sometimes called “tip cuttings”!
Remember that any cutting must have at least one leaf node or aerial root — otherwise, there won’t be anything to produce new roots.
Measure 10–15cm (or a few nodes) from the tip, then make a clean, angled cut between two leaf nodes. Remove the leaves from the bottom half, but leave one or two healthy leaves at the top.
Do not propagate cuttings from stems with diseases or pests. If you need to “chop and prop” a dying mother plant, only choose healthy stems and leaves.
3 Methods for Propagating Monstera Cuttings
When propagating a Monstera through cuttings, most people use one of three mediums: water, soil, or perlite.
How to propagate Monstera in water
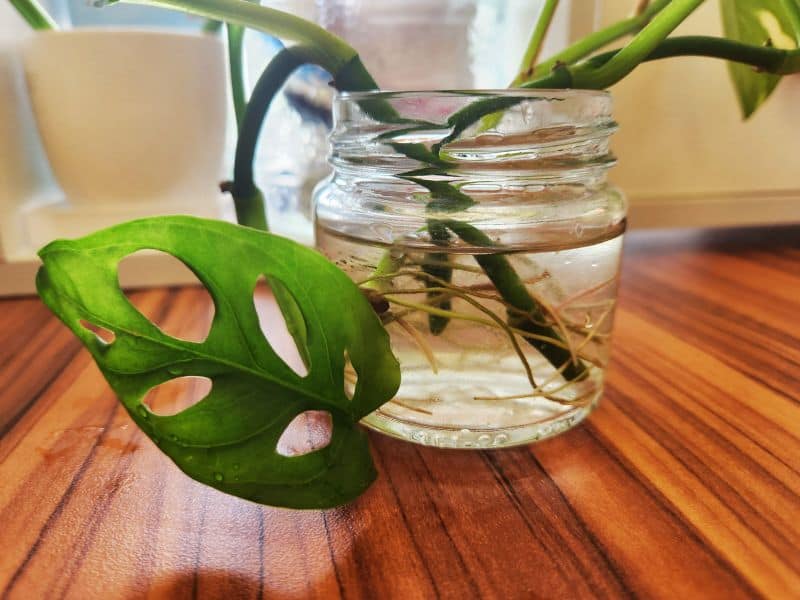
Propagating Monstera cuttings in water is the most common method, and it’s very straightforward!
Place the cuttings in a clear jar or bottle, then add just enough filtered water to cover the lowest nodes. Make sure the water doesn’t touch the leaves, or they could rot.
You can cover the opening with some plastic wrap, then poke holes to insert the cuttings! This helps hold each cutting up and ensures they don’t sink into the water.
Keep the jar somewhere with plenty of bright, indirect light or under a full-spectrum grow light.
It’s not strictly necessary to change the water — you can simply top up when it’s low. If you see algae or the water gets murky, though, wash the container ASAP and change the water.
After a few weeks, you should see root development. When the new roots are at least 5cm long with small, secondary roots, transfer the cuttings to potting soil.
Fill a small pot with a chunky aroid mix and carefully add the cuttings so the roots are covered. Gently shake the pot to settle the soil.
One hack for transplanting propagations is submerging the pot in some water so the soil floats loosely, then inserting the cuttings. When you lift the pot, the water will drain out and the soil will settle into place!
Keep the potting mix consistently moist for 2–3 weeks to let the roots adjust and reduce the risk of transplant shock.
NOTE: If you don’t want to transfer your rooted cuttings, you don’t have to! Monsteras are among the plants that can grow in water.
How to propagate Monstera in soil
You can choose to propagate your Monstera directly in potting mix!
There is an increased risk of rot due to the moist environment, so make sure you have a chunky, well-draining soil mix and a pot with drainage holes.
Leave the cuttings out in a sunny, well-ventilated spot for a few hours so the cut ends callous slightly. As an optional step, dip the end of each stem into some rooting hormone.
Fill a small container with moist potting soil. Insert each cutting into the soil so that at least one leaf node is covered, then press the soil into place around it.
Place the pots in a place with plenty of bright, indirect light or under a grow light. Keep the soil consistently moist but not soggy — a good general rule is to water when the top 2–4cm is dry.
Monstera cuttings take a bit longer to root in soil, around 4–5 weeks. After a few weeks, you can lightly tug the cutting at the base — if you feel resistance, it’s started to root!
When new leaves begin coming in, scale back the watering so you don’t risk root rot. With proper care, your new plant should grow and thrive.
How to propagate Monstera in perlite
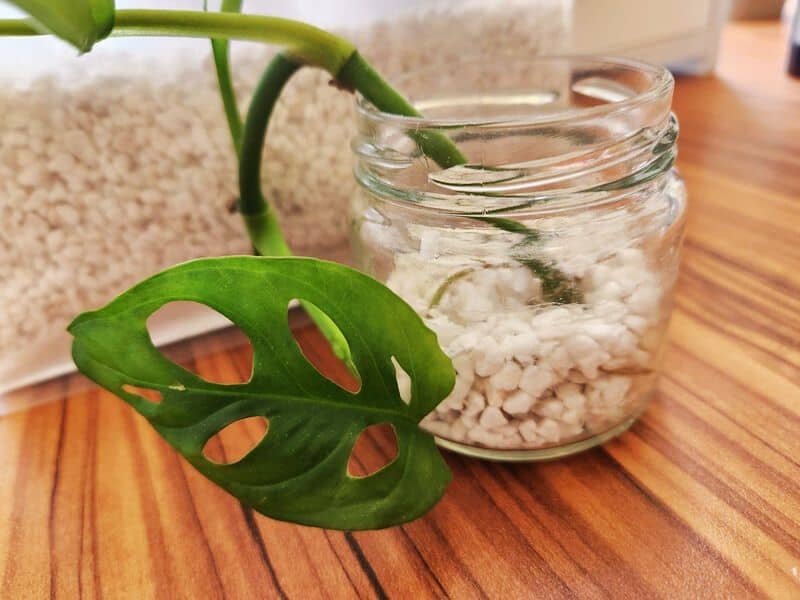
One other alternative propagation medium is perlite! There’s less risk of rot than using soil, and the new roots will be less delicate than water roots.
However, you’ll need to be careful when lifting the propagations out to transfer them — the roots often grow into or stick to the perlite, and may accidentally get pulled off.
Place the cuttings in a clear jar, then fill the space around them with moist perlite. You can use plastic wrap over the opening to prevent the perlite from drying out too quickly.
If the perlite does start to dry, lightly mist it to keep it consistently moist. After several weeks, your Monstera cuttings should start to sprout roots, and you can transfer them to potting soil.
How to Air Layer a Monstera
Air layering is another propagation method, but this one doesn’t need cuttings! Instead, you encourage root growth from a node that’s still on the mother plant.
You can use regular plastic wrap, but there are propagation pods designed specifically for air layering!
Choose a healthy Monstera stem and identify a node 10–15cm from the tip. Using a clean knife or blade, make a small cut just below the node. You only want to break the surface.
Gently wrap the node with some moist sphagnum moss (moist, not dripping wet). Don’t pack it too tightly — the stem should still get air circulation!
Secure the moss with plastic wrap and some string, or use an air layering pod. Check every few days to see if the moss is dry, and lightly mist it if necessary.
It can take up to 3 months for the roots to grow! When you have thick, white roots around 5cm long, cut the stem below the roots and transfer it into a pot with soil.
Dividing a Monstera Plant
You can also propagate a Monstera via division! However, reserve this propagation method for large plants, such as a mature Monstera deliciosa.
Take the parent plant out of its container and brush off the soil. You can do this when your Monstera plant needs repotting, so you keep two smaller plants instead of a large one!
Look for natural division points in the plant near the base. Gently pull the Monstera apart at that point, or make a clean cut with a disinfected pair of shears.
It may take a bit of work to separate all the roots, so be careful and make sure both sides have plenty of roots remaining.
Repot each division into its own container with chunky, well-draining soil and water them well.
You may see some wilting or yellow leaves on your plant, but don’t panic! Care for each new plant as normal while it settles, and it should bounce back soon enough.
After Propagation: Caring For New Monsteras
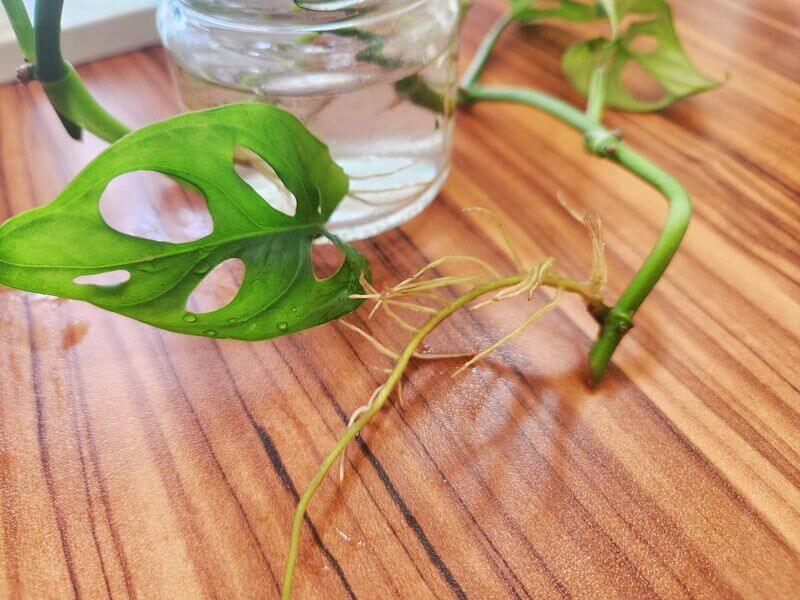
If you’re propagating plants in water, it’s important to keep the potting soil consistently moist for a few weeks after transferring the cuttings.
Roots grown in water are delicate, and the plant will need to adapt to getting oxygen and nutrients from the soil.
One hack plant parents use is to introduce a little soil into the propagation container every day until the container is full. It’s more effort, but it helps create a smooth transition!
Once your cuttings are settled in their pots, it may take a while for you to see new leaf growth. Don’t worry — your plant is just focusing its energy into establishing a strong root system.
Care for your Monstera plant properly so it’ll thrive! These aroid plants prefer bright, indirect light and a chunky, well-draining potting mix.
Monsteras also grow best when they have supports, like a moss pole or coco coir pole. Use jute string or garden ties between nodes to attach the plant to its support.
FAQs About Monstera Plant Propagation
Let’s address some more questions people have about Monstera propagation.
Can you propagate Monstera from a leaf?
No, you cannot propagate a Monstera from a leaf.
You must have some stem with a node or aerial root. Leaves have nothing to grow roots, and will eventually rot in the water.
Is it better to propagate Monstera in water or soil?
Neither option is truly “better” — both propagation methods have their pros and cons!
When propagating in water, it’s easy to monitor root growth and check for signs of rot. However, you’ll need to be careful when transitioning the plant to soil, as the roots need to adjust.
Soil propagation is harder to monitor and risks root rot in moist soil, but allows the cutting to establish a stronger root system from the get-go.
If you’re not sure, there’s no harm in trying both methods!
How long do you propagate Monsteras in water?
If you plan to transfer your Monstera cutting to soil, keep it in water for about 2–3 weeks or until you have roots that are at least 5cm with secondary roots.
However, it’s possible to keep your Monstera in water — this is called a hydroponic setup! Just keep in mind that you’ll need to give the plant hydroponic fertiliser for nutrients, and it will grow more slowly.

