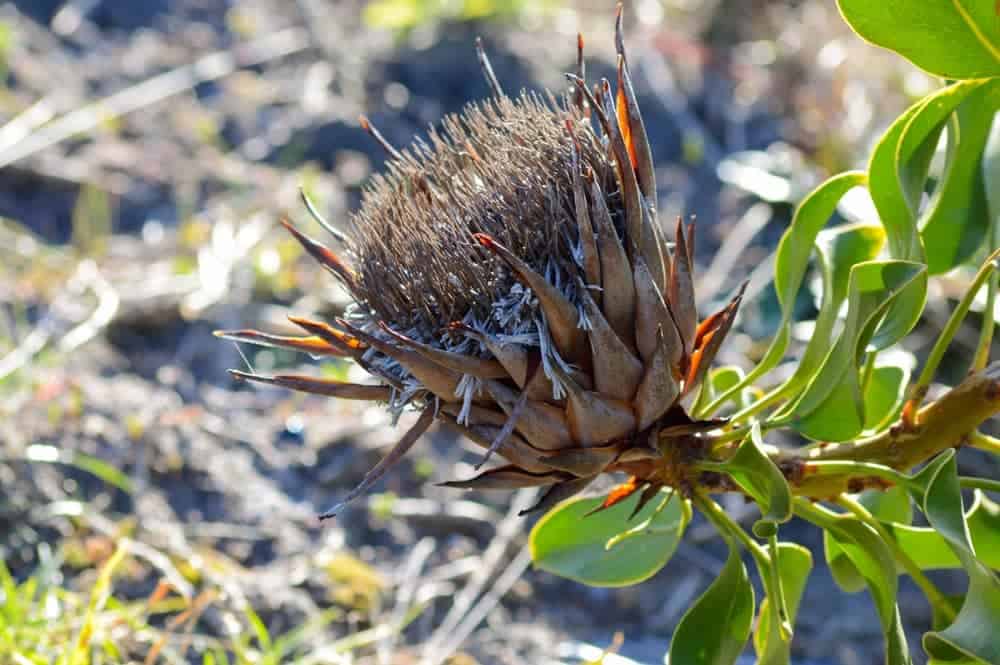
Proteas are known for being hardy, so it can be quite alarming when they start looking unhealthy.
If your protea leaves are turning brown and dying, something has likely gone wrong below or above ground.
Common culprits include fungal infections, heat stress, and soil issues.
But don’t panic yet — these problems can often be fixed if caught early!
In this guide, we’ll walk you through the possible causes and how to get your protea back on track.
Why Does My Protea Have Brown Leaves?
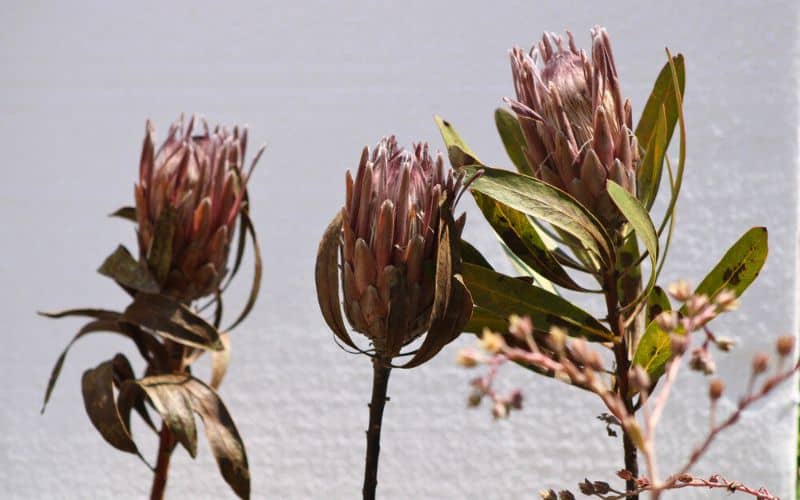
It’s normal for some protea leaves to turn brown and die off as they age.
However, rapid or widespread browning is a red flag, especially if it’s affecting new growth or flower buds.
Protea leaves turning brown and dying may be caused by these conditions:
- Root rot
- Other fungal diseases
- Pests
- Underwatering
- Heat stress
- Frost damage
- Phosphorus toxicity
- Soil alkalinity
Below, we’ll share tips on how to identify the issue and help your protea recover.
1. Root Rot
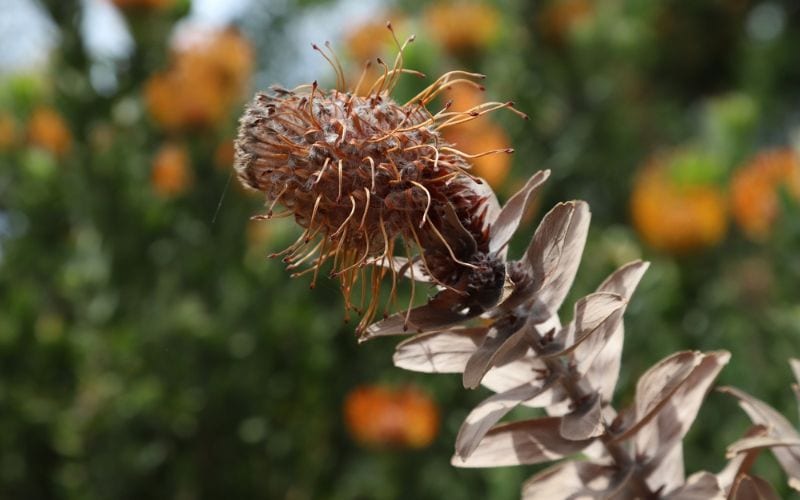
If your protea’s leaves are turning brown, the first issue to rule out is root rot.
It’s often caused by Phytophthora cinnamomi, a fungus-like organism that thrives in soggy conditions.
Many factors can put proteas at risk of root rot, including:
- Overwatering
- Prolonged rainy weather
- Poorly draining soil (like clay)
The first sign of root rot in proteas usually shows in the leaves. They may turn yellow and droop, and eventually turn brown.
The stems may also become brown and weak.
If left untreated, Phytophthora root rot can kill proteas quickly!
To confirm root rot, check the roots. Gently dig around the base of the plant. Be very careful, as protea roots are delicate!
Healthy roots should be light in colour. Infected ones will be brown or black with a bad odour, and break off easily.
Observe the soil, too. If it’s soggy and compacted, that likely contributed to the problem.
What to do if your protea has root rot
Keep in mind that severely infected plants may not recover. But if you caught the disease early, there’s still hope!
Once root rot is confirmed, stop watering your protea immediately.
Cut off the black or mushy parts of the roots using clean, sharp shears. Trim away damaged leaves and stems, too.
To avoid spreading the disease to other plants, do not compost the trimmings. Instead, seal everything in a bag and toss it in the bin.
Also, be sure to disinfect the pruning tools you used afterwards.
Then, replant your protea in fresh, well-draining soil. Use a new pot or disinfect your old one to kill any lingering fungus.
To do this, wash the pot in soapy water. Then, mix equal parts water and 3% hydrogen peroxide in a bucket. Soak the pot in this solution for at least 10 minutes, and rinse well.
If you’re planting in the ground, it’s important to improve drainage. Create a raised bed and break up compacted soil with coarse sand.
Don’t hesitate to call a specialist if the rot is widespread or you’re unsure how to save the plant!
2. Fungal Diseases on Leaves
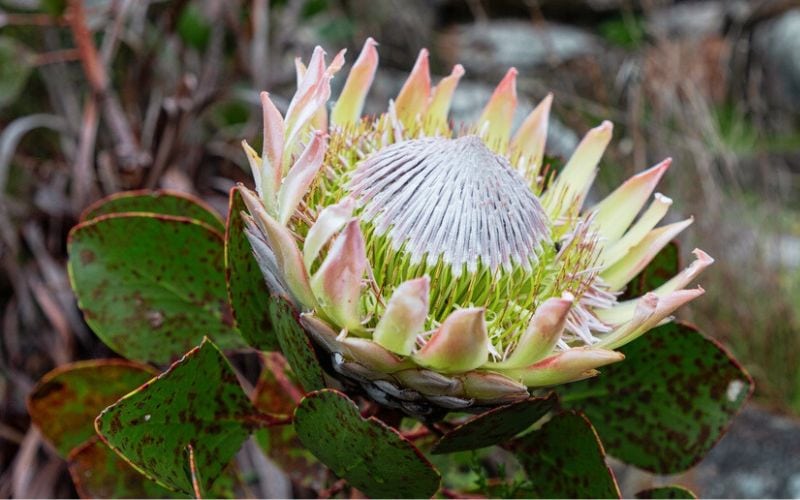
Aside from root rot, other fungal diseases can also cause leaf browning in proteas.
These are common during long rainy periods. Poor air circulation and overhead watering can also encourage fungal growth.
ANTHRACNOSE: Irregular brown or black lesions on leaves; new shoots may turn brown
CANKER: Sunken, discoloured lesions on stems; leaves may turn yellow or brown
LEAF SPOT: Brown spots with yellow halos that can grow and merge into larger dark patches
How to treat fungal diseases in proteas
For a natural fungicide, mix ½ tbsp neem oil, 1L water, and a few drops of dish soap.
(If you don’t have neem oil, you can substitute it with 1 tbsp baking soda.)
Spray the entire plant in the early morning or evening. Be sure to coat all parts, including the top and underside of the leaves.
Do this once a week until symptoms improve.
To prevent fungal infections, avoid overhead watering. Always water at the base, and keep the leaves dry.
Maintaining good airflow is also essential. To do this, prune your protea after flowering and regularly remove any dead leaves.
For overgrown plants, heavier pruning can help, but avoid cutting back more than 50% of the foliage at once.
3. Pests
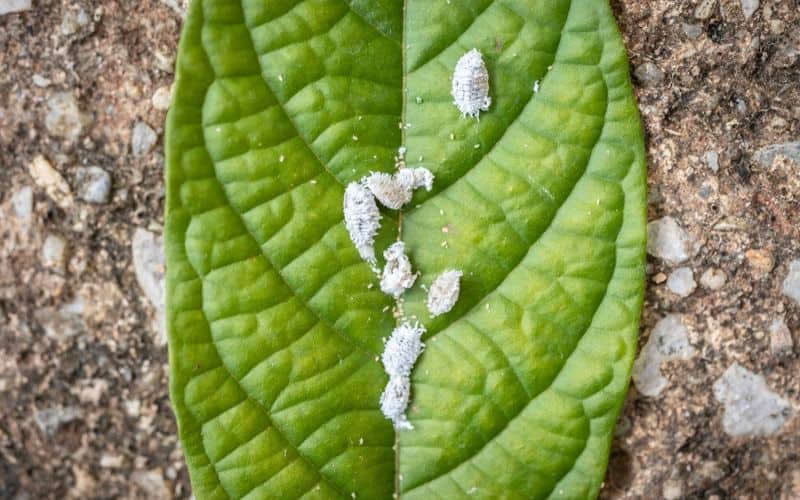
If your protea’s leaves are turning brown, it’s a good idea to check for pests.
Aphids, scale insects, spider mites, and thrips can damage protea leaves and stems.
- APHIDS: Often leave a sticky honeydew on leaves
- MEALYBUGS: Small, white insects found in cotton-like clusters
- SCALE INSECTS: Tiny bumps that could be black, brown, or white
- SPIDER MITES: Leave fine, sticky webs under leaves or in branch joints
Be sure to take a look under the leaves and between stems, as many pests tend to hide in these spots.
Managing protea pests
If you spot pests on your protea, act quickly before they cause serious damage!
For mild cases, you can remove the pests with a damp cloth — but be sure to wear gloves first.
Cut off any badly infested parts, and dispose of the cuttings in a sealed bag.
For natural pest control, spray your protea with a solution of ½ tbsp of neem oil, 1L of water, and a few drops of dish soap.
Apply once a week, ideally in the early morning or evening. Be sure to coat the leaves thoroughly, including the top and underside.
Continue to monitor your plant regularly to catch any new pests right away.
4. Underwatering
Just like overwatering (which can lead to root rot), underwatering proteas can also cause issues.
While proteas are known for being drought-tolerant, young plants and potted plants need regular watering.
You also need to water your protea more if you’re in an arid or semi-arid region.
When a protea doesn’t get enough moisture, its leaves may turn brown and brittle. The browning usually starts at the tips and edges before spreading inward.
Flower buds may be affected, too — they can shrivel up and fail to open.
To check for underwatering, stick your finger about 5cm into the ground. If it’s crumbly and dry, your plant is likely dehydrated.
In potted proteas, you might also notice the soil shrinking and pulling away from the edges.
What to do if your protea is underwatered
If your protea is severely dry, give it a good, long drink. Water slowly and deeply at the base of the plant.
For potted proteas, bottom watering might work better if the soil has shrunk away from the edges.
When this happens, the soil has likely become hydrophobic and won’t absorb water well.
In that case, place the pot in a shallow container with water and leave it for a few hours. This allows the roots to absorb moisture from the bottom of the pot.
Over the next few days, your protea should start perking up. But if there’s no improvement, you may need to replace the soil.
To keep your protea healthy, check soil moisture regularly and don’t let it stay dry for too long.
5. Heat Stress
Proteas thrive in warm climates, ideally in temperatures between 4°C and 35°C.
However, sudden temperature spikes or prolonged heat waves can stress these plants.
Heat stress often shows symptoms similar to underwatering.
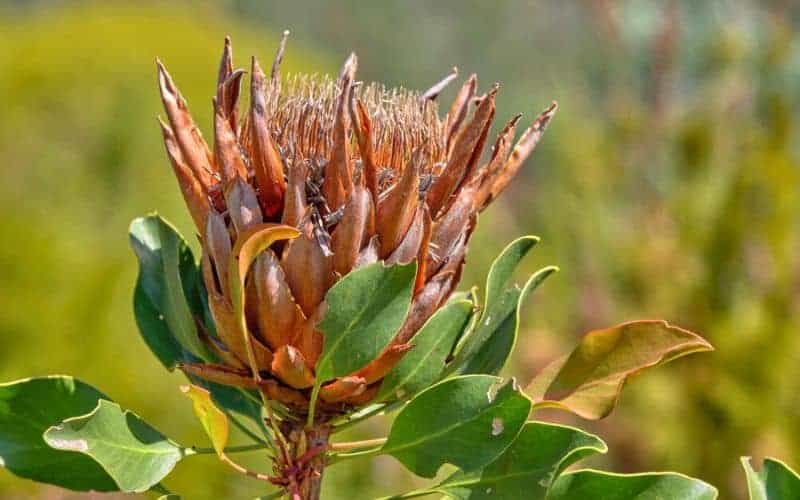
One of the first symptoms is leaf scorch. Brown patches may appear on the leaves that are exposed to intense sunlight.
Flower buds may also dry up and turn brown.
Later, the protea may drop its leaves to conserve moisture.
How to protect proteas from intense heat
To help your protea cope with intense heat, make sure it’s getting enough water.
Frequently check soil moisture during hot spells, and water the protea once the soil dries out.
You can also insulate the roots with a layer of low-phosphorus mulch, like pine bark.
Be sure to mulch away from the base of the plant to allow airflow around the roots.
If possible, provide dappled afternoon shade for your plant. You can use a shade cloth or plant a taller shrub nearby.
6. Frost Damage

Freezing temperatures can be tough on proteas, especially young or newly planted ones.
While some protea varieties are considered cold hardy (like Protea ‘Pink Ice’), they can still suffer under heavy, prolonged frost.
Frost damage can cause protea leaves and stems to turn dark brown or black. Affected leaves may also wilt, droop, and eventually fall off.
How to shield proteas from frost
If your protea has been damaged by frost, hold off on pruning until all risk of frost has passed.
Once it’s safe, cut back to healthy green tissue using clean, sharp shears. Make your cuts just above a node or a healthy shoot.
To prevent frost damage, plant your protea near a wall or a large rock. This can help retain warmth during cold winter nights.
When frost is expected, drape a frost cloth over your protea.
For smaller plants, cover them with a cardboard box or a bucket, then remove it in the morning when it’s warmer.
7. Phosphorus Toxicity
Phosphorus toxicity is another common reason why protea leaves turn brown and die.
Proteas evolved in nutrient-poor soils. Over time, they developed a specialised root system called “proteoid roots.”
These roots are so efficient that they can absorb even trace amounts of phosphorus in the soil.
Moreover, proteas can’t regulate their phosphorus uptake, unlike other plants.
This means they’ll simply continue taking in phosphorus until it reaches toxic levels.
When this happens, you’ll notice the protea leaves turning yellow. Then, they’ll become brown or black, starting from the tips and spreading inwards.
The plant might also look weak and unhealthy overall.
If you suspect phosphorus toxicity, think back to your recent fertiliser use.
General-purpose fertilisers and compost often contain more phosphorus than proteas can handle.
To be sure, test the nutrient levels in the soil. You can buy an NPK test kit online or at a garden centre.
For the most accurate results, consider sending a soil sample to a specialised laboratory.
How to manage phosphorus toxicity in proteas
If the soil turns out to be high in phosphorus, stop fertilising your protea right away.
Proteas generally don’t need fertilisers. But if you must use one, choose a slow-release fertiliser with low or zero phosphorus.
Correcting phosphorus in the soil can be tricky, as it doesn’t leach easily.
The best approach is to replant your protea in a raised garden bed about 45cm high or in a pot.
Make sure to use low-phosphorus, well-draining soil suitable for native plants.
8. Soil Alkalinity
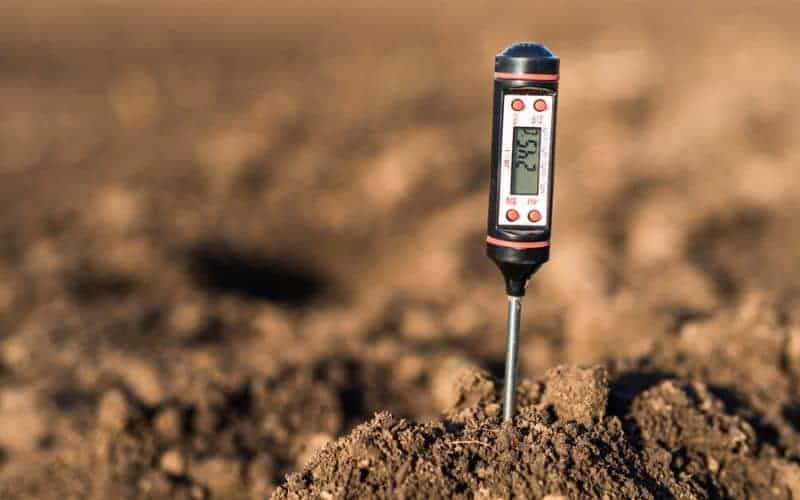
Proteas prefer slightly acidic soil with a pH of 5.5–6.5.
If the soil is too alkaline, you’ll start seeing signs of plant stress, like yellowing leaves and slow growth.
In severe cases, protea leaves may turn brown at the tips and edges. Sometimes, they can also have dark spots.
To check your soil pH, you can use a test kit available in most garden centres.
If you’re unsure how to test your soil, consult a professional gardener! They can also advise you on adjusting the soil’s pH accordingly.
How to lower the soil pH for proteas
It’s best to prepare the soil before planting proteas.
But if your protea’s already in the ground, you can still lower the soil pH. Just be sure to do it gradually to avoid shocking the plant.
One way to make the soil more acidic is by using elemental sulphur.
Follow the product instructions closely to determine the correct amount to apply.
Sprinkle the sulphur evenly around the dripline — the area directly beneath the outer edges of the branches. Gently scratch the soil to work the sulphur in.
After 6 months, retest the soil and reapply the sulphur if needed.
How Do You Revive a Dying Protea?
You’ll have a better chance of reviving your protea if you spot the problem early.
However, keep in mind that severely affected plants may not recover.
Before doing anything, identify the cause first: check the soil, inspect the roots and leaves, and observe the symptoms.
If root rot or soil issues are the cause, you may need to replant your protea.
Once you do so, try not to disturb the roots, as they’re sensitive.
Finally, make sure your protea gets full sun, good airflow, and is protected from frost or extreme heat.
With the right care, your protea can bounce back and reward you with beautiful flowers!

